Other
How To Make Eucalyptus Pine Candles | DIY Soy Eucalyptus Pine Candle
While candles provide warmth and light to any room, making it seem cozier, they don’t last forever and can be costly. However, with a few ingredients and a little know-how, you can manufacture them yourself in no time. You also have complete control over what goes into them. If you’re allergic to scent, don’t use it.
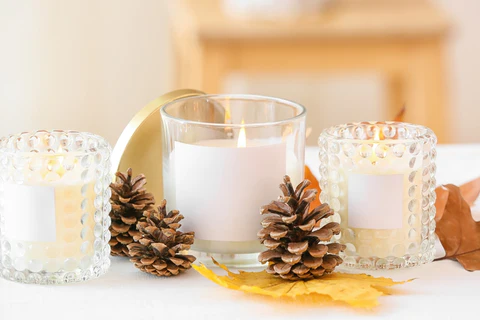
Use soy wax if you’re worried about keeping your home’s air clean and fresh. Candles come in a variety of shapes and sizes, but they all have three fundamental components: wax, wick, and container. In this blog, we are going to make classic holiday Eucalyptus and pine-scented candles.
How To Make Eucalyptus Pine Scented Candle
Eucalyptus and pine are frequently used to create pleasant smells that help soothe the mind and body. The pleasant evergreen perfume of eucalyptus and pine is enjoyed by people worldwide. Read on to find the ingredients you’ll need to make this candle.
Candle Making Supplies:
- Soy Wax Flakes – 1.5 Cups
- Heat Proof Container
- Pre-Tabbed Wick – 1
- Wooden Candle Wick Holder
- Eucalyptus Essential Oil – 1 Tsp
- Pine Needle Oil – 1 Tsp
Know About Eucalyptus Pine Candle Supplies
Now that you know all the ingredients you require, and their quantity let’s talk a little about each of these ingredients. One thing is for sure – this candle will not pose any harm to your home’s air as it uses soy wax flakes, which ensures clean and pure burning Eucalyptus Pine Candles.
- Eucalyptus Essential Oil: Eucalyptus is a member of the woody fragrance family, which is distinguished by rich and fragrant overtones. With undertones of mint, honey, and citrus, it’s a diverse woodland smell. It’s the perfect aroma for resting at home, meditating, or taking a relaxing bath. The scent of eucalyptus essential oil can also help promote comfortable sleep at night.
- Pine Needle Oil: Pine’s familiar perfume is a welcome visitor during the holidays, but its invigorating aroma is a requirement all year long. Imagine the fresh, crisp aroma of a pine tree forest, but anytime and wherever. This woodsy pine needle oil will transport you to a rejuvenating morning trek or the aroma of a freshly cut live pine tree, just in time for the holidays.
- Soy Wax Flakes: Soy wax candles have a number of benefits, including a long burn time, the absence of unsightly black soot, and a reputation for being a desirable, organically made product. So it’s unsurprising that soy candles account for more than half of all candles on the market today.
- Pre Tabbed Wicks: These are quite convenient since they eliminate the need to tap the wick manually. We recommend using 7″ cotton wicks, which are a good size for 2.75″ diameter candle jars.
DIY Eucalyptus Pine Candles at Home – Step by step
Imagine wandering through a sunlit pine forest by a cool creek. The fragrant tones of wood and resin fill your senses without overwhelming them. This candle also has sweet and fruity undertones reminiscent of a young orchard after a spring rain. Read on to know the step-by-step process of making this candle.
Step 1: Get The Supplies Ready
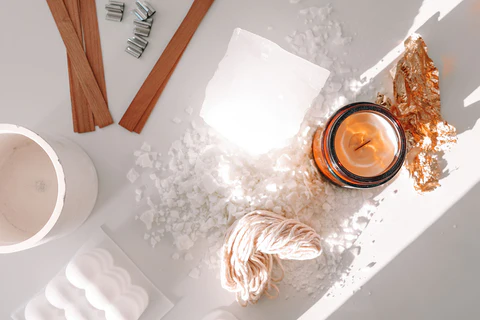
- Prepare the materials by measuring and placing them in the appropriate locations. When it comes to candle-making, timing is everything, and you should be ready with all your supplies as soon as they’re required.
- Before using the candle containers, make sure they are dry and clean.
Step 2: Heat The Wax

- Combine the wax and candle color (if using) in a heatproof saucepan or pitcher (something with a spout works best).
- To keep the wax from burning, melt it over medium-high heat, stirring often.
- Use a thermometer to measure the temperature. Heat until it reaches 68 degrees Celsius.
Step 3: Add In The Essential Oils
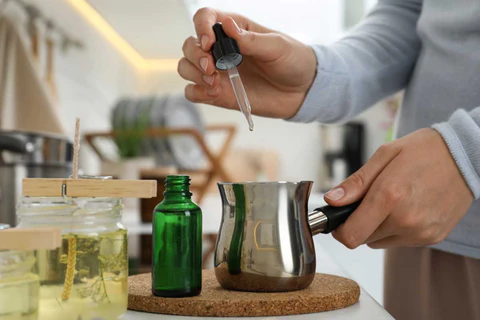
- When the wax reaches 68°C, remove it from the heat and add the eucalyptus essential oil and pine needle oil.
- To ensure the mixture is homogeneous and constant, stir it 30 to 40 times.
Step 4: Let The Wax Cool
Allow the wax to cool to a temperature of 57 degrees Celsius, which is the ideal pouring temperature for soy wax.
Step 5: Pour And Wick
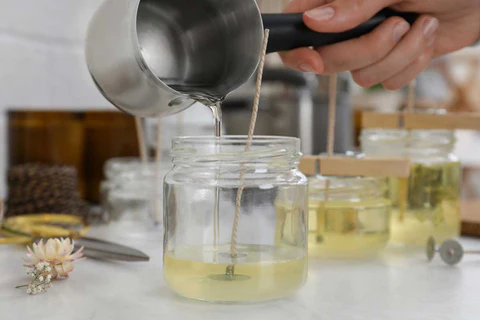
- Before putting the wax into the candle containers, give it a good stir.
- Place the wick in the center of the candle container.
- Thread the candle wick top through the wooden wick holder to secure it in the notch.
Step 6: Let It Cool
Allow the candle to cool overnight.
Step 7: Fill Up The Gaps
- After the candle has cooled, the wax around the wick may have sunken in a bit. Let’s get things under control. A sinkhole might emerge if the wax is poured too hot.
- To disguise the hole, remelt the remaining wax and pour a thin coat over the whole surface of the candle, going all the way to the edges.
Step 8: Let It Cure
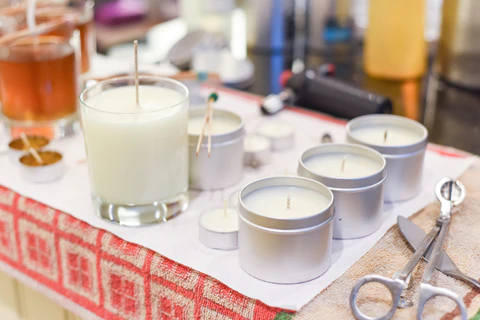
After covering the candles with a lid, let them rest at room temperature for about two weeks.
Step 9: Trim The Candle Wick
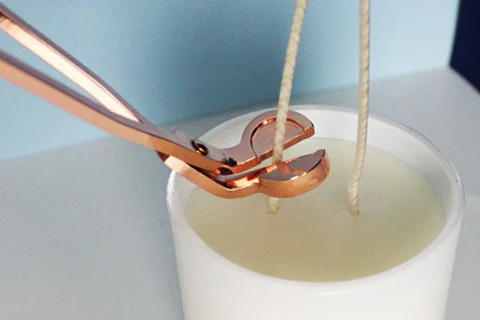
- Trim the wick to 1/4″ before lighting the candle since this will ensure the best burn.
- The first time you use your DIY eucalyptus and pine candle, let it burn until the entire surface has melted to the container’s edge.

